The different types of light sources in studio photography
In studio photography, light is the key element to obtain quality images. There are different types of light sources that you can use to create the desired atmosphere in your photos. The question can then be asked, in studio photography : what equipment to use ?
The most commonly used light sources in the studio are:
- Flashes: they offer powerful light and are ideal for freezing movements.
- Continuous lamps: they make it possible to see in real time the effect of light on the subject.
- LEDs: they are increasingly popular because of their low energy consumption and longer life.
The different types of flash in the photo studio
Studio photography offers many creative possibilities, and the use of flashes is essential to achieve professional results. There are different types of flashes available on the market.
Features and advantages:
1. Studio flashes
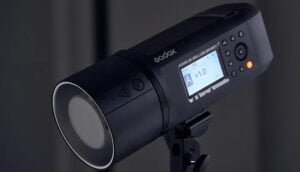
Studio flashes are generally of great power and are used to illuminate large spaces. They are ideal for professional studio photo shoots, where constant and powerful light is needed. These flashes are often equipped with light modifiers such as umbrellas, light boxes or reflectors to create different lighting effects.
2. Cobra flashes
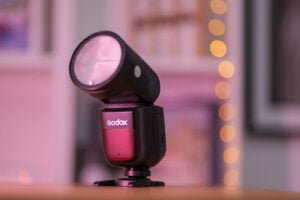
Cobra flashes, also known as portable flashes, are more compact and lighter than studio flashes. They are perfect for photographers on the go or for outdoor photo shoots. These flashes are usually mounted on the camera and offer great flexibility in terms of light positioning.
3. Ring flashes
Annular flashes are circular flashes that surround the camera lens. They are mainly used for macro photography, where uniform and shadowless lighting is required. These flashes are very popular among nature, flower or jewelry photographers.
4. LED studio flashes
LED studio flashes are a modern alternative to traditional flashes. They use LED bulbs to produce continuous and constant light. These flashes are ideal for video in addition to photography, because they allow you to preview the lighting in real time.
The different broadcasters in studio photography
Diffusers are used to soften light and reduce hard shadows. They are essential in studio photography to obtain a soft and uniform light.
Here are some types of commonly used diffusers:
Light boxes (or softbox)
The softbox is an essential tool in photography to create a soft and uniform light. It is used to attenuate hard shadows and create more flattering portraits and images. There are different types of softbox, each with its own specific characteristics and uses. They come in different forms:
1. The rectangular softbox
The rectangular softbox is the most commonly used type of softbox. It is versatile and suitable for a wide variety of subjects, such as portraits, products and still lifes. This softbox produces a soft and uniform light with slightly degraded shadows.
2. The octagonal softbox
The octagonal softbox, also called “octobox”, creates a softer and more enveloping light than the rectangular softbox. It is ideal for portraits and subjects that require soft and flattering light. Its circular design makes it possible to obtain round reflections in the eyes, giving a more natural look to the portraits.
3. The umbrella softbox
The umbrella softbox is a type of portable and easy-to-use softbox. It is light and mounts quickly, making it a popular choice for photographers on the go. This produces a soft and diffuse light, similar to that of a reflective umbrella. It is ideal for outdoor portraits or improvised studio photo sessions.
4. The softbox strip
The softbox strip, also known as the “softbox strip”, is a narrow and elongated softbox. It is often used to illuminate subjects laterally or to create specific lighting effects, such as contour lighting. It is ideal for creative portraits and fashion photos.
In conclusion, each type of softbox has its own specific advantages and uses. It is important to choose the type of softbox that best suits your photography style and specific needs.
Umbrellas
They diffuse the light more broadly and are suitable for group sessions. Studio photography offers many creative possibilities to capture amazing images. One of the most commonly used accessories in studio photography is the umbrella. Umbrellas are used to modify light, create shadows and give a special atmosphere to a photo. There are different types of umbrella:
1. Translucent umbrella
The translucent umbrella is used to diffuse light in a soft and uniform way. It creates an enveloping light that is ideal for portraits and product photos. This type of umbrella is often used as the main source of light.
2. Reflective umbrella
The reflective umbrella is used to return the light to the subject. It creates a harder and more directional light, which can be used to create more marked shadows and more dramatic light effects.
3. Shoot-through umbrella
The shoot-through umbrella is used by placing the light source inside the umbrella and pointing it towards the subject. This creates a soft and directional light that is ideal for portraits and fashion photos.
4. Reflector umbrella
The reflector umbrella is used to reflect the light towards the subject. It is often used as a filling source to eliminate unwanted shadows and soften the overall light of the scene.
The different types of Reflectors in studio photography
They distribute light homogeneously and are often used for product shooting. In studio photography, reflector panels are essential tools for manipulating light and obtaining professional results. They allow you to control shadows, soften light and create specific effects. We will explore the different types of reflector panels available on the market:
1. Silver reflector panels
Silver reflector panels are the most common and versatile. They reflect a bright and hard light, ideal for creating intense reflections and marked contrasts. They are perfect for portraits and high-contrast images.
2. Gold reflector panels
The gold reflector panels produce warm and soft light, simulating sunlight at the end of the day. They add a touch of warmth and glamour to your photos. I recommend them for portraits and fashion photos.
3. White reflector panels
White reflector panels return soft and diffuse light, ideal for softening shadows and creating uniform light. They are perfect for portraits and product photos where you want to avoid hard shadows.
4. Black reflector panels
Black reflector panels are used to absorb light and create deeper shadows. I recommend that you use them in combination with other reflector panels to control the direction and intensity of the light.
5. Reversible reflector panels
There are also reversible reflector panels that offer a combination of different reflective surfaces. They are practical because you can return them according to your needs and get different effects.
Photo backgrounds for the studio
Photo backgrounds are used to create a neutral background and highlight the subject. They are available in a variety of colors and textures to meet your creative needs. You can use the backgrounds in studio photography to create atmospheres, highlight the main subject or simply add visual interest to an image.
Here are some photo background materials commonly used in the studio:
Paper funds: they are economical and easy to use. They are available in a wide range of colors.
Fabric backgrounds: they offer a softer texture and are often used for portraits.
Vinyl backgrounds: they are durable and easy to clean, perfect for sessions involving liquids or projections.
And here are the types of photo backgrounds used in the studio:
1. United funds
The plain backgrounds are single-color canvases that provide a neutral basis to highlight the subject. You will find them in a wide range of colors and you can use them to create clean and minimalist images, or to add a touch of vibrant color.
2. Canvas background
When you use canvas backgrounds, it allows you to create more textured and authentic atmospheres. These backgrounds are available in a variety of patterns, such as bricks, woodwork or abstract textures, and add depth and visual interest to an image.
3. Chromakey fund
Chromakey backgrounds, also known as green or blue backgrounds, you can use them to facilitate the retouching and digital manipulation of images. They make it easy to remove the background during post-production and replace it with another visual element.
4. Personalized funds
Finally, personalized funds offer an infinite number of possibilities. You can use backgrounds created using printed images, special decorations or even light projections. Personalized backgrounds make it possible to create unique atmospheres and tell a story through the image.
Whether you opt for a plain, canvas, chromakey or personalized background, it is important to take into account the subject, the desired atmosphere and the desired visual effect. Experiment and have fun with the different types of funds to bring your creative ideas to life.
What equipment to start with?
If you want to get into studio photography, it is essential to have the right equipment to obtain professional results.
Basic equipment
Here are some essential elements to get started:
1. Camera
Choose a DSLR camera or a hybrid with a good quality sensor. Make sure it has manual settings to be able to control all the parameters.
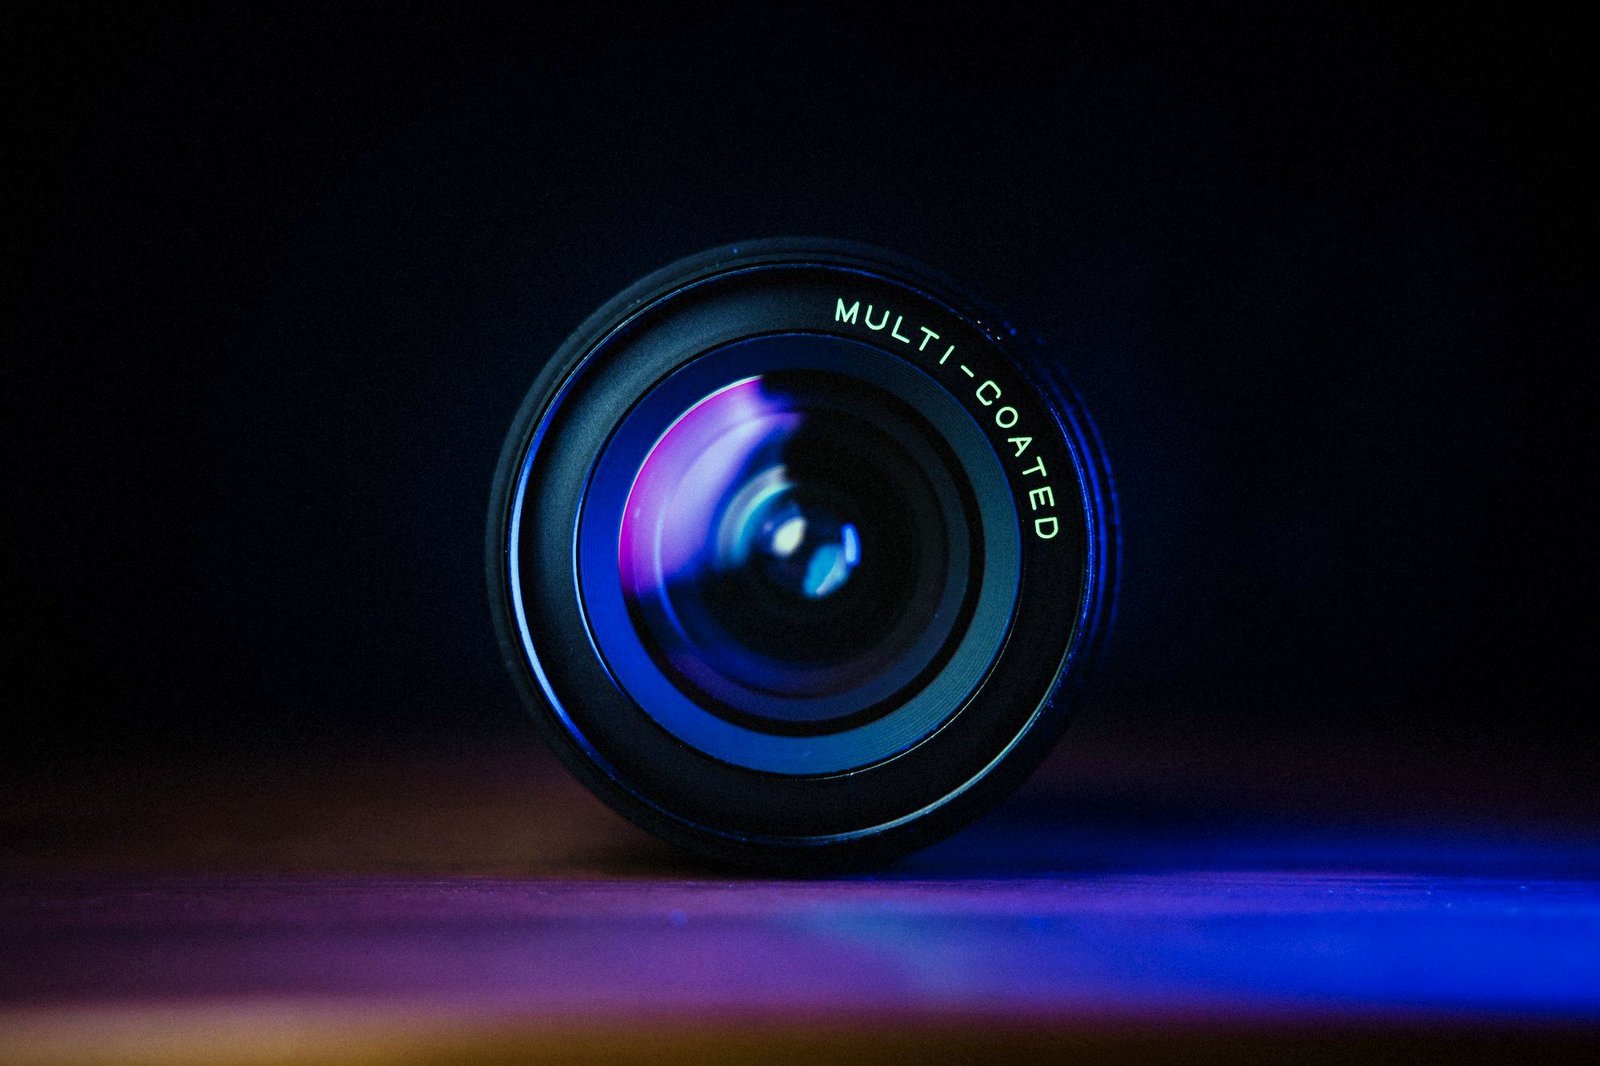
2. Objectives
Opt for versatile lenses such as a wide-angle lens for group shots, a standard lens for portraits and a telephoto lens for close-ups.
3. Tripod
A tripod is essential to stabilize your camera and avoid motion blurs. Choose a solid and height-adjustable model.
4. Lighting
Invest in studio lighting such as flashes or continuous lamps. Prefer complete lighting kits with umbrellas, softboxes and reflectors for a soft and well-distributed light.
5. Studio background
Choose a canvas or paper studio background to create a uniform and professional background. Opt for neutral colors such as white, gray or black.
6. accessories
Do not neglect accessories such as reflectors, diffusers, remote triggers, additional memory cards, etc. They can help you get special effects and make your work in the studio easier.
10 tips in studio photography
Here are some tips to help you improve your studio photography skills:
- Experiment with different types of light sources to create various effects.
- Use diffusers to soften the light and reduce hard shadows.
- Use reflectors to illuminate shadow areas and shape light.
- Choose a photo background adapted to your subject and the atmosphere you want to create.
- Take the time to properly adjust your camera (in manual mode) and flashes before starting the session.
- Be creative and experiment with shooting angles.
- Work closely with your subject to capture natural expressions.
- Use a tripod if necessary to avoid motion blurs.
- Take the time to retouch your photos to get the desired final result.
- Practice regularly to improve your skills and style.
By following these tips and using the right equipment, you will be able to create quality images in studio photography. Don’t forget to practice regularly and experiment to develop your own style.
